
Fluorescent tubes has a shorter life span and it was really a hassle to replace a 4 feet long glass tube. As I started this LED business, my first order was to replace this ceiling light.
This ceiling light is actually very simple with 2x2' diffuser panels. The diffuser panel can be easily push up and move to the side to reveal access space for works like replace fluorescent tubes.
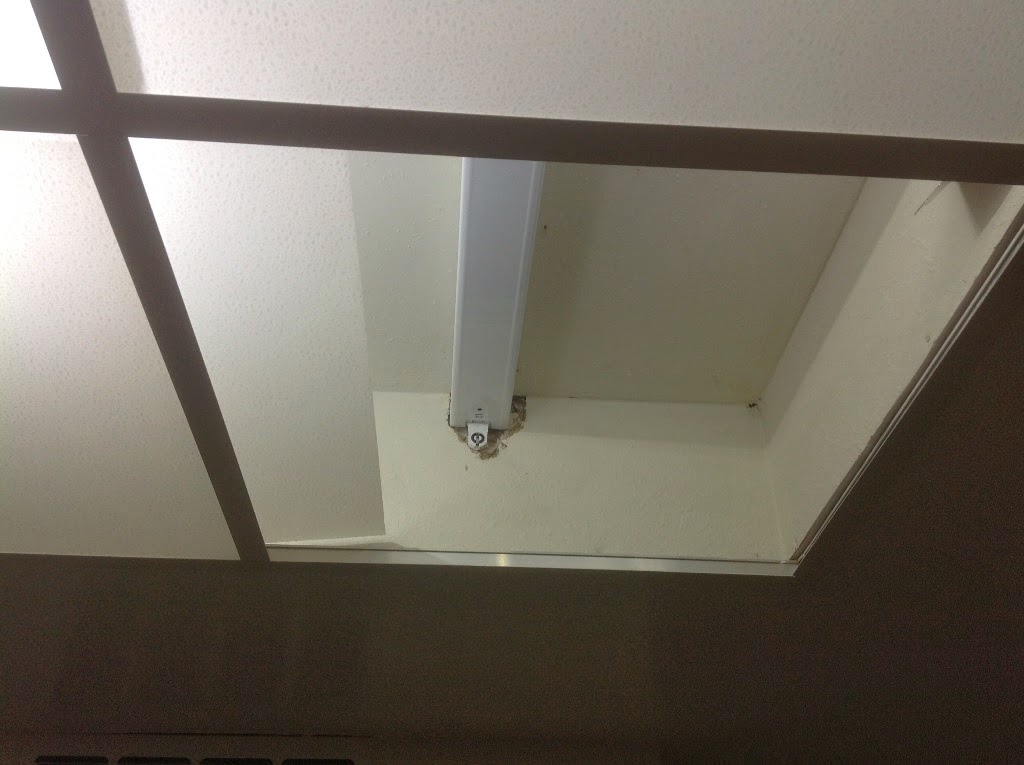
To install Easy LED kit, The first step is to remove all fluorescent tubes and find the power feed. I did not remove the old fluorescent lamp base; I just leave them in there to reduce the junk I had to remove for this project. But it's a good idea to disconnect the old ballast from power feed as the ballast would still consume a little bit of power despite tube is removed.
 The second step is to install LED modules at proper locations. Our standard modules are pre-bent to 90 degrees and pre-wired. So the location of the modules are determined by wire connectivity. Handle module via its metal bracket; DO NOT touch the LED balls. Remember the LED driver need to be placed near the power feed, and the rest of modules should just follow the wires to deploy. Modules are installed flat side against ceiling so the LED are facing downward.
To install them to a clean and flat surface, we can just use its back double sided type to stick to surface, remember to push it
 really hard (pressure) against the surface and allow dwell time (1 hour) to let the adhesion to set before turn on the light.
On a not so clean surface such as old dry wall surface, use included screws to enhance fastening. When I install them on dry wall, I don't even need to pre-drill hole, just push it into the dry wall. And I only use one screw per module.

Once those modules are set and wires are arranged. the next step is to connect the wiring, just follow this link to connect them.
The whole installation was very easy and didn't take much time. At end, just make sure the lights are working before we close the diffuser panels. Once that was done, just enjoy the very bright and energy efficient LED light.
I used 4 modules that consumes 60 Watt of power, which is only half as before. But then my kitchen is already the brightest room in my house.
4 modules Easy LED kit is on sale at easyledlighting.comfor less than $70
No comments:
Post a Comment