Showing posts with label LED ceiling light. Show all posts

Wednesday, September 17, 2014

Example of Garage ceiling light

A customer sent us his installation example:
(LED retrofit kit and film diffuser can be purchased at easyledlighting.com)

What I wanted is to light up our garage as my workspace. The garage has bare wood studs roof but doesn't have light bulb base installed. What I want is something easy to install, bright enough low maintenance and not cost a lot.  

1) mount LED driver and LED modules between roof studs.

   Use screws to mount LED driver to wood stud, and using longer nail to mount LED module loosely and away from roof panel, so that the back of module won't be covered and air is still good to ventilate all around the module bracket, which double as heat sink.
At first, I use the diffuser film that designed for the module. The LED module and diffuser together is very light in weight (about 2 Oz), so I can  hang the module on the end of two long nails and it stays there.

2) Tidy up the wires, connect the power and the modules will just light up.
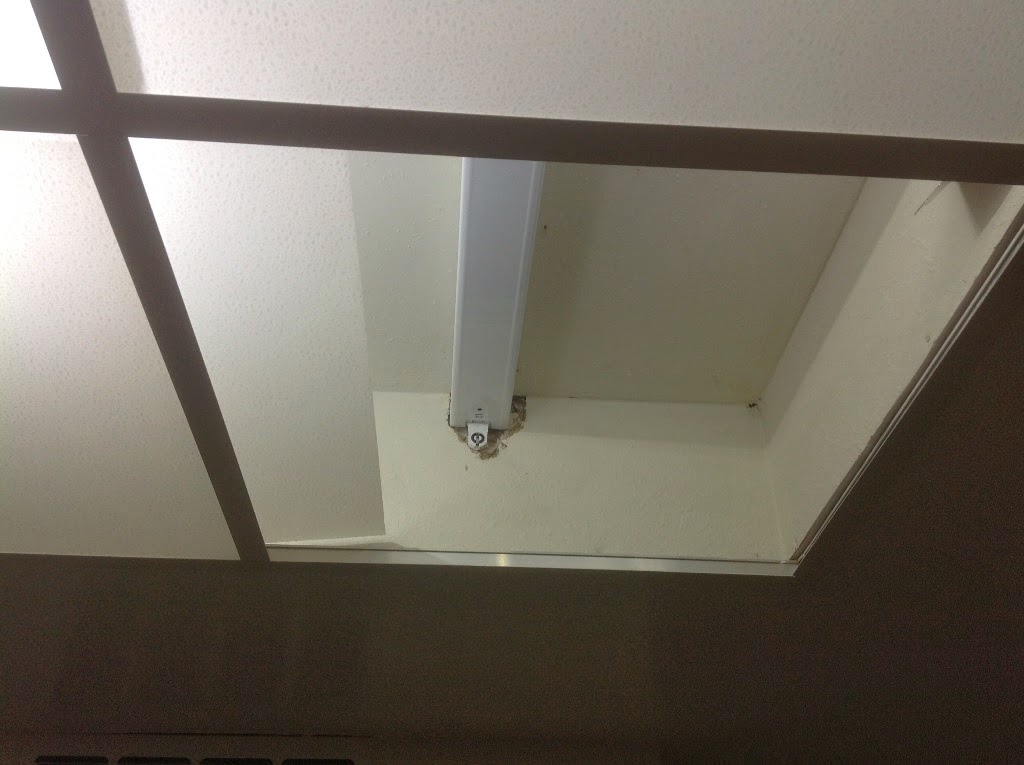
From the power plug, AC wire to LED driver is running on home AC, make sure you follow building electrical code for that 1 pair of wires.  After LED driver, the wires to connect each LED module are all running on low voltage DC. (The kit I purchased is 24V DC), therefore we can go easy on the wiring. After the wiring done and plug into wall socket, all LED modules light up instantly. But once the round shape diffuser is used, the light goes out at all direction and I realized I shouldn't install LED module between wood studs.

3) I purchased acrylic diffuser panel from HomeDepot (at lighting section, near florescent lamps), I cut into suitable size to cover space between wood studs, use drill to pre-drill screw holes. (can't nail or screw on acrylic panel directly)

4) Remove the diffuser film, mount the diffuser panel on wood studs to cover LED module. I have the diffuser panel cut to 16" long so there are at least 3" more diffuser coverage over both sides of  LED module. Screw them to wood studs.
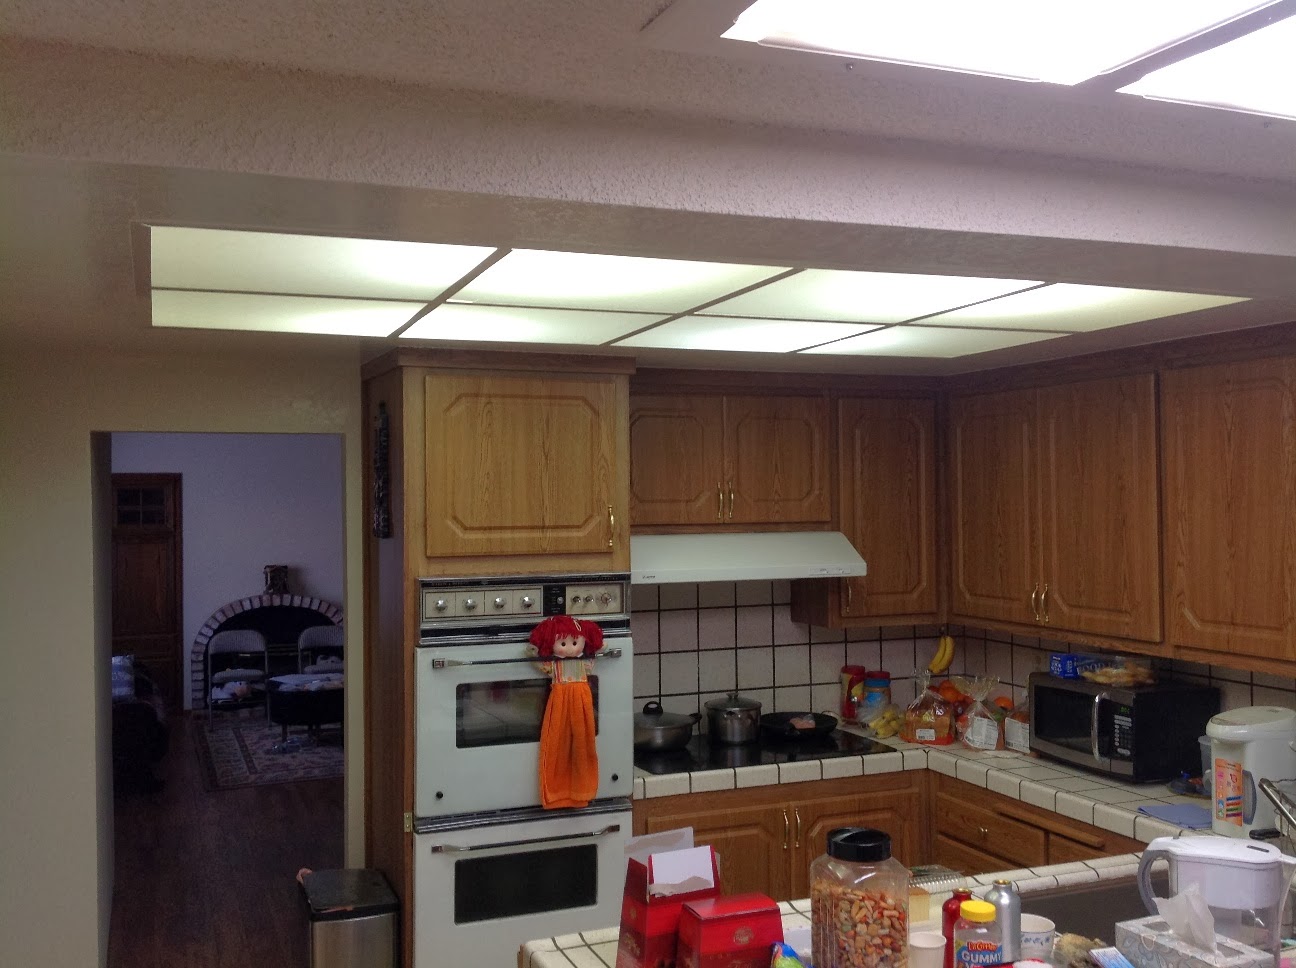
5) Light up, the light is very bright and it looks neat from below.  Winter is coming and this LED set can withhold -20F, which I don't think it would get this cold indoor.


Friday, March 14, 2014

Is it easy to install Easy LED kit?


My kitchen, about the size of 14x10',  has build-in ceiling light that was using fluorescent tubes. There were 4 four feet long T5 tubes that were installed inside the 11" ceiling space and were using totally 120 Watt of power when turn on.
Fluorescent tubes has a shorter life span and it was really a hassle to replace a 4 feet long glass tube. As I started this LED business, my first order was to replace this ceiling light.

This ceiling light is actually very simple with 2x2' diffuser panels. The diffuser panel can be easily push up and move to the side to reveal access space for works like replace fluorescent tubes.

To install Easy LED kit,  The first step is to remove all fluorescent tubes and find the power feed. I did not remove the old fluorescent lamp base; I just leave them in there to reduce the junk I had to remove for this project. But it's a good idea to disconnect the old ballast from power feed as the ballast would still consume a little bit of power despite tube is removed.

The second step is to install LED modules at proper locations. Our standard modules are pre-bent to 90 degrees and pre-wired. So the location of the modules are determined by wire connectivity. Handle module via its metal bracket; DO NOT touch the LED balls. Remember the LED driver need to be placed near the power feed, and the rest of modules should just follow the wires to deploy. Modules are installed flat side against ceiling so the LED are facing downward.

To install them to a clean and flat surface, we can just use its back double sided type to stick to surface, remember to push it really hard (pressure) against the surface and allow dwell time (1 hour) to let the adhesion to set before turn on the light.

On a not so clean surface such as old dry wall surface, use included screws to enhance fastening. When I install them on dry wall, I don't even need to pre-drill hole, just push it into the dry wall. And I only use one screw per module.  

Once those modules are set and wires are arranged. the next step is to connect the wiring, just follow this link to connect them.

The whole installation was very easy and didn't take much time. At end, just make sure the lights are working before we close the diffuser panels. Once that was done, just enjoy the very bright and energy efficient LED light.

I used 4 modules that consumes 60 Watt of power, which is only half as before. But then my kitchen is already the brightest room in my house.

4 modules Easy LED kit is on sale at easyledlighting.comfor less than $70


Sunday, February 2, 2014

LED Ceiling light application

Troffer Lamp is one popular ceiling lighting, mainly use fluorescent tubes as luminaries. There are many reasons to select LED over fluorescent, but high cost of LED Troffer Lamp definitely is not one of it. The easiest and cheapest way to convert fluorescent luminaries to LED is to use Easy LED kit.

To apply this kit, just to gut off everything fluorescent and only leave AC wires; then stick Our LED driver and module up against the metal case of Troffer lamp, then connect AC and DC wires, totally 4 connectors. Depends on whether an extra diffusers are needed, our kit has optional diffuser films. Just like that, the conversion is done.

Another popular ceiling lighting is ceiling panel light, which usually has luminaries and diffuser panel to soft the light. This is very suitable for using our kit. Just module our LED module  to shine light on existing diffuser panel.


To get Easy LED kit